|
Forenza Retractable Awning
|
 |
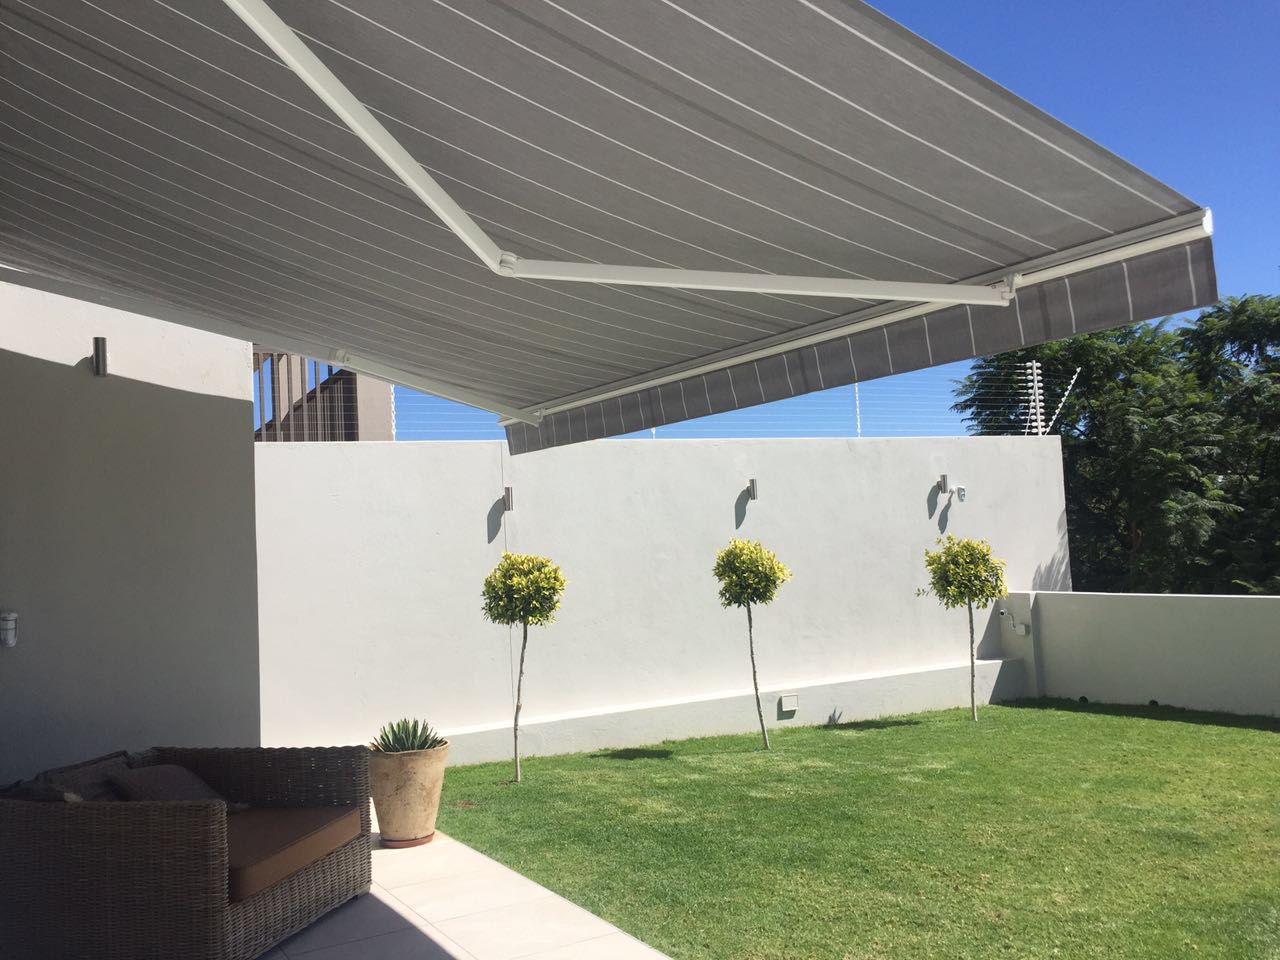 |
Fabric rolls from the upper side of the barrel. Patios, can extend to 3.0m projection. Arms fold back when retracted. Made in Diklon, and Soltis Air fabric only. Valance 200mm deep or 250mm with Cross over arm kit. Set at 12.5 degree pitch can be adjusted on site. Fabric approx 110mm (gear) 70mm (motor) smaller than overall width. All stainless steel and aluminium construction. Arms are tensioned equally in factory. Supplied with 1200mm crank. (1500mm and 2000mm available on request) Cross over Arm kit supplied with all awnings with narrow width, e.g. 1970 x 3000 proj 2 arms up to 5985mm and 3 arms to 7165mm. Roller Bearing bed needed from 5385mm.Can be motorised fixed position switch/remote control/sun and wind control RTS.Acrylic rail pelmet available.
Installation: Top or universal bracket can be supplied. Make sure the brackets are level. Important for 2 of the brackets to be as close to the arms as possible. Others to be evenly spaced. Can be fixed to roof trusses with special angle bracket. Use M10 Rawl bolts or similar. |
|
|
Glydashade
|
​ |
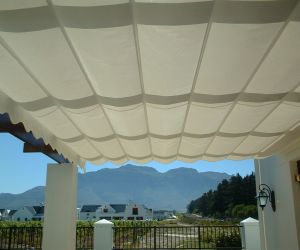 |
Fits under a pergola. (Existing) Folds back to go under a rain pelmet (optional) Comes fully assembled- Single valance, tracks, cleats, pulleys and cord. (Not frame work) When measuring it is important to get the spacing of the beams correct and to write down or draw a sketch as to where the tracks must go. Maximum spacing between folds is 500mm which will give a depth of 250mm when retracted.
Installation: Fit tracks on beams specified. Slide awning into the tracks. Fix pulleys to front of beams. Cord the awning using 1 continuous loop per track attaching the cord at the front of the leading saddle on the runner.
|
|
|
Barcelona
|
|
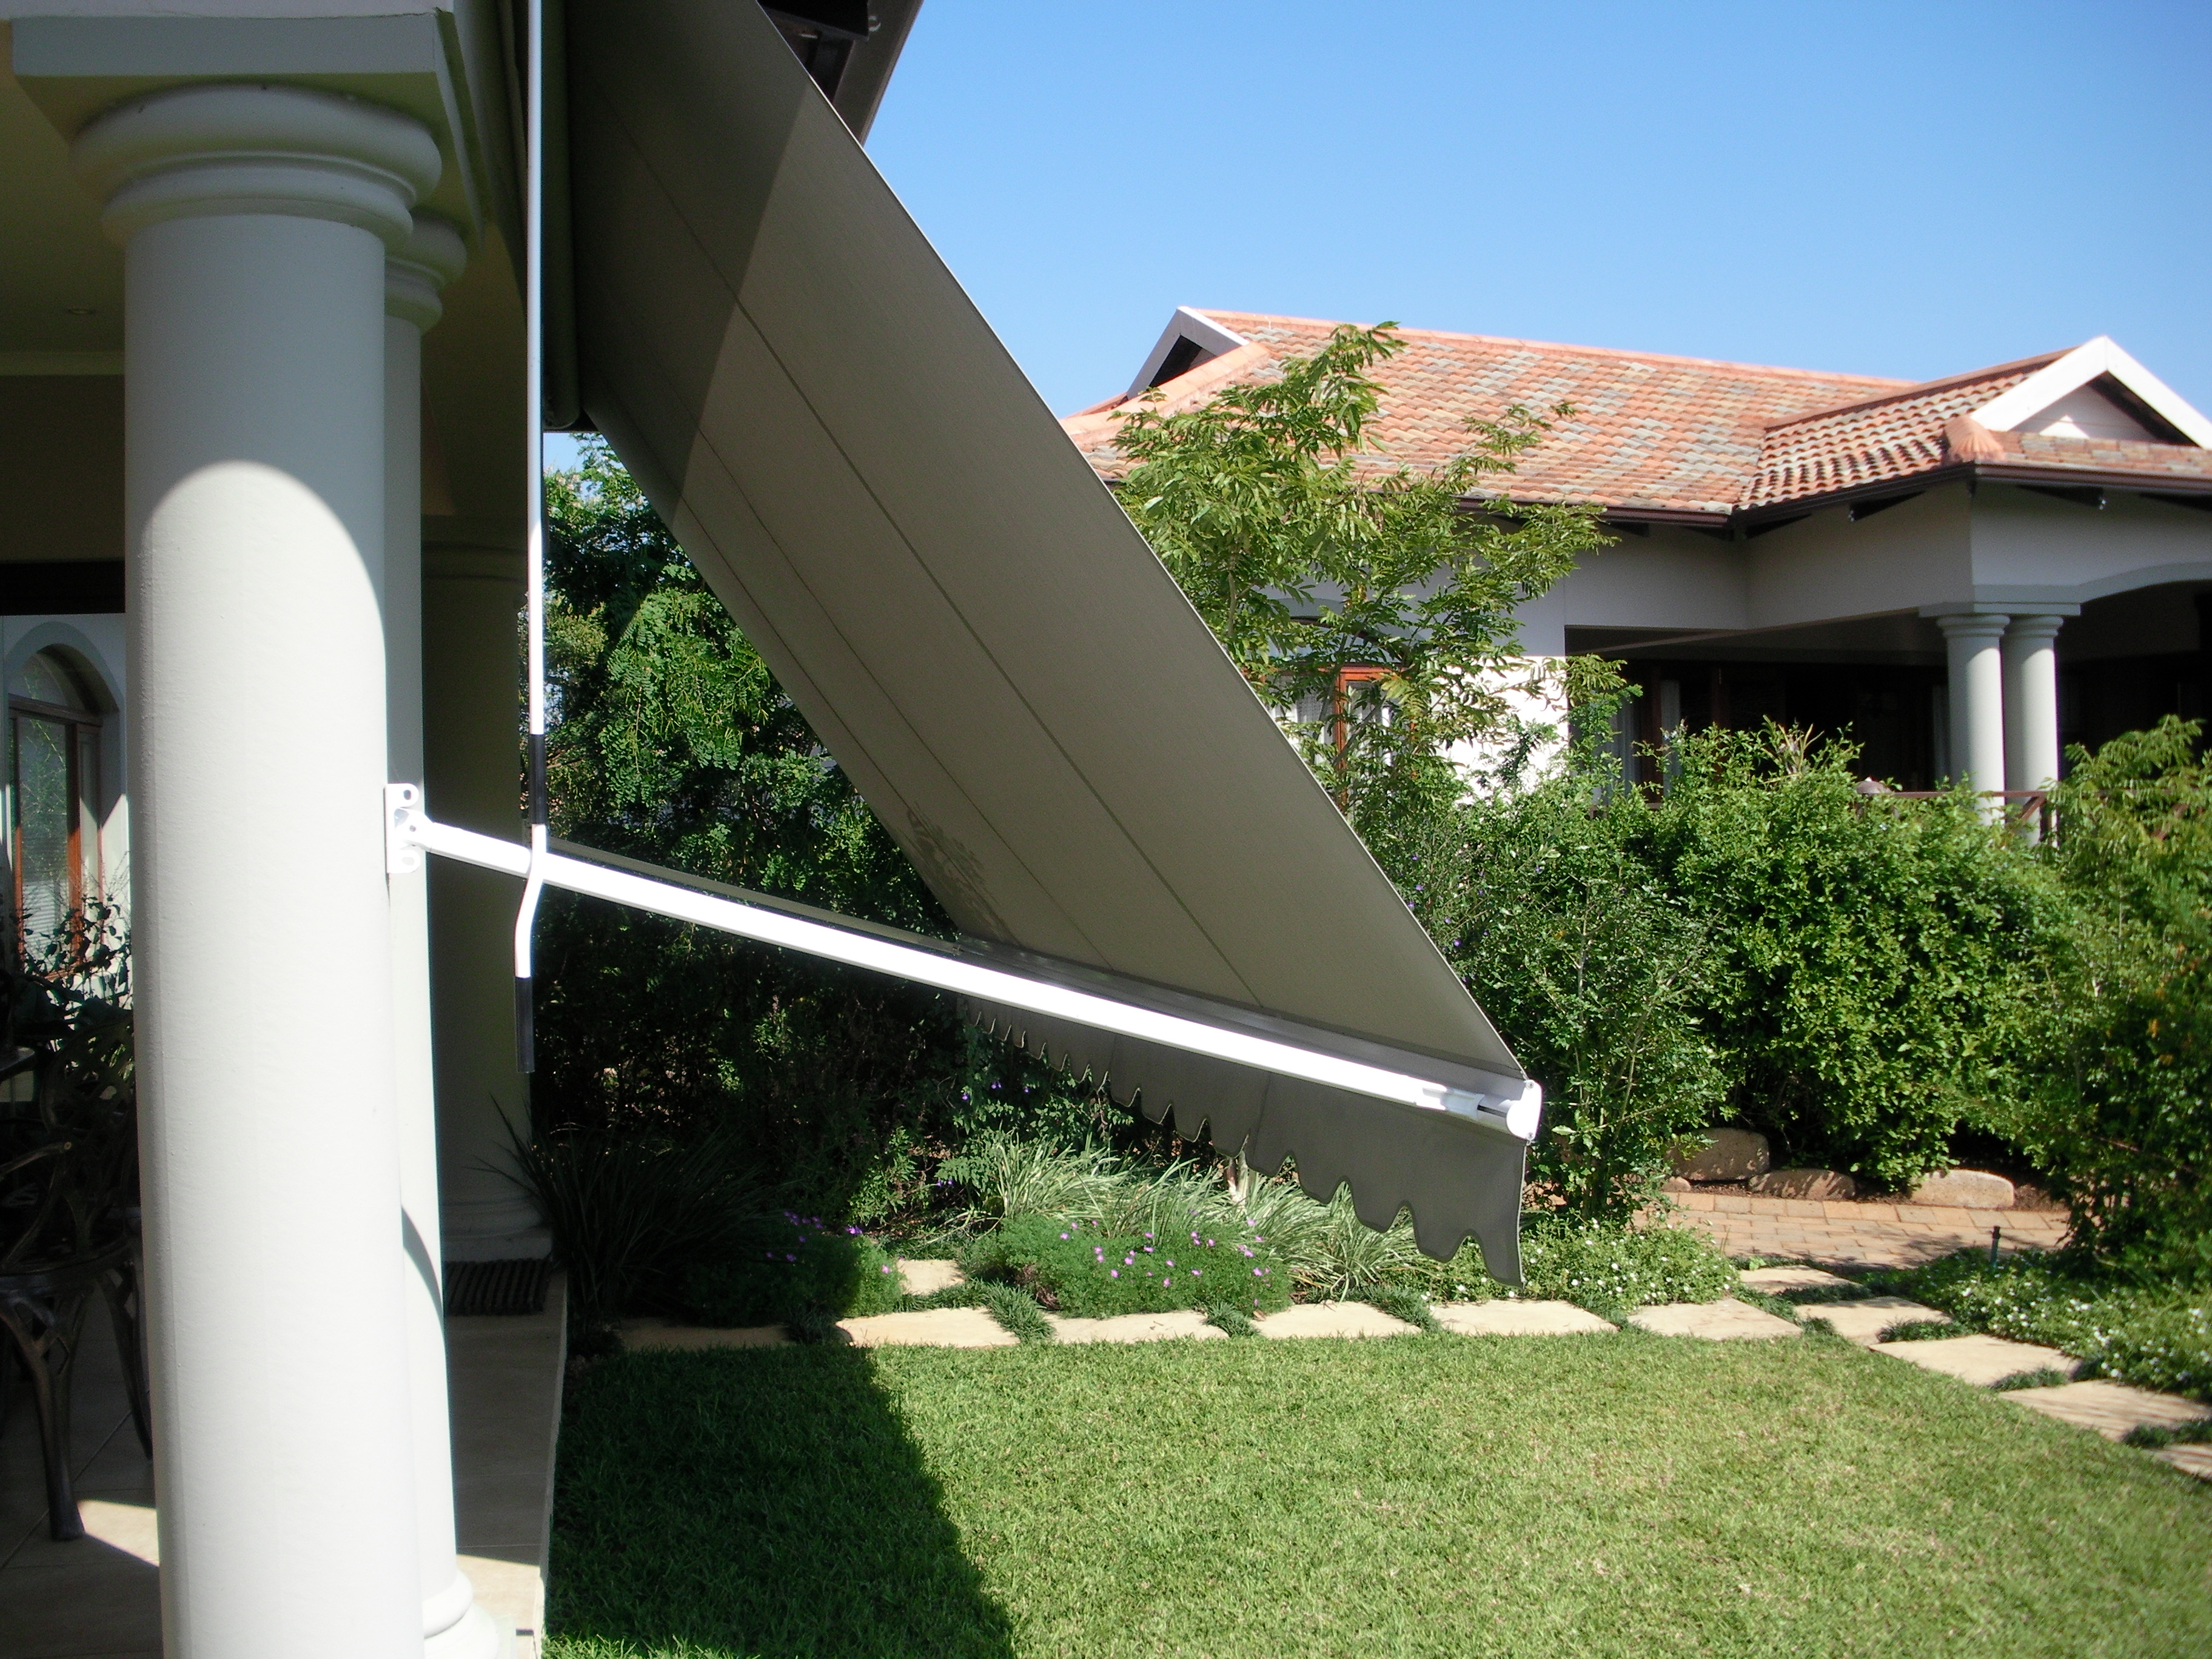 |
Available in 90 or 155. Fabric rolls from upper side of the barrel. Can be made with a clear PVC window. Patio Awning with side arms so that when the fabric is extended the arms are in the 90 degree or 155degree angle to the top of the awning. The arms are spring loaded to hold the arms in the open position so that the fabric is under tension. Offset arms are provided so that if the awning is narrower than the opening the arms will still be able to attach to the front rail, up to a maximum of 80mm on each side. Fabric approx 110mm (gear) or 100mm (motor) smaller that overall width. Roller Support needed when width is wider than 4800mm. Can be motorised with either fixed position switch or remote control operation.
Installation: Top, side or face fix. Fit the bracket that accommodates the round pin first with M8 Rawl bolts or similar. Attach the gearbox with the bracket for the square pin, and then lift up the awning into the bracket already fitted. Level the awning and mark the position of the unfitted bracket (allowing for 5mm play). Drill and attach remaining bracket. Detach the gearbox from the bracket, and slide onto the square pin end cap. Slide the round pin end into the bracket, and lower the gearbox into the other bracket and tighten cap screw. Offer the arms to awning (arm should not go above the roller tube), and mark the holes to be drilled. Drill holes ant install arms with M8 rawl blots or similar making sure the pin is to the under side of the arm. Attach the arm to the front rail, and remove the pin from the arm (to activate the spring mechanism). |
|
|
Granada Drop Blind
|
|
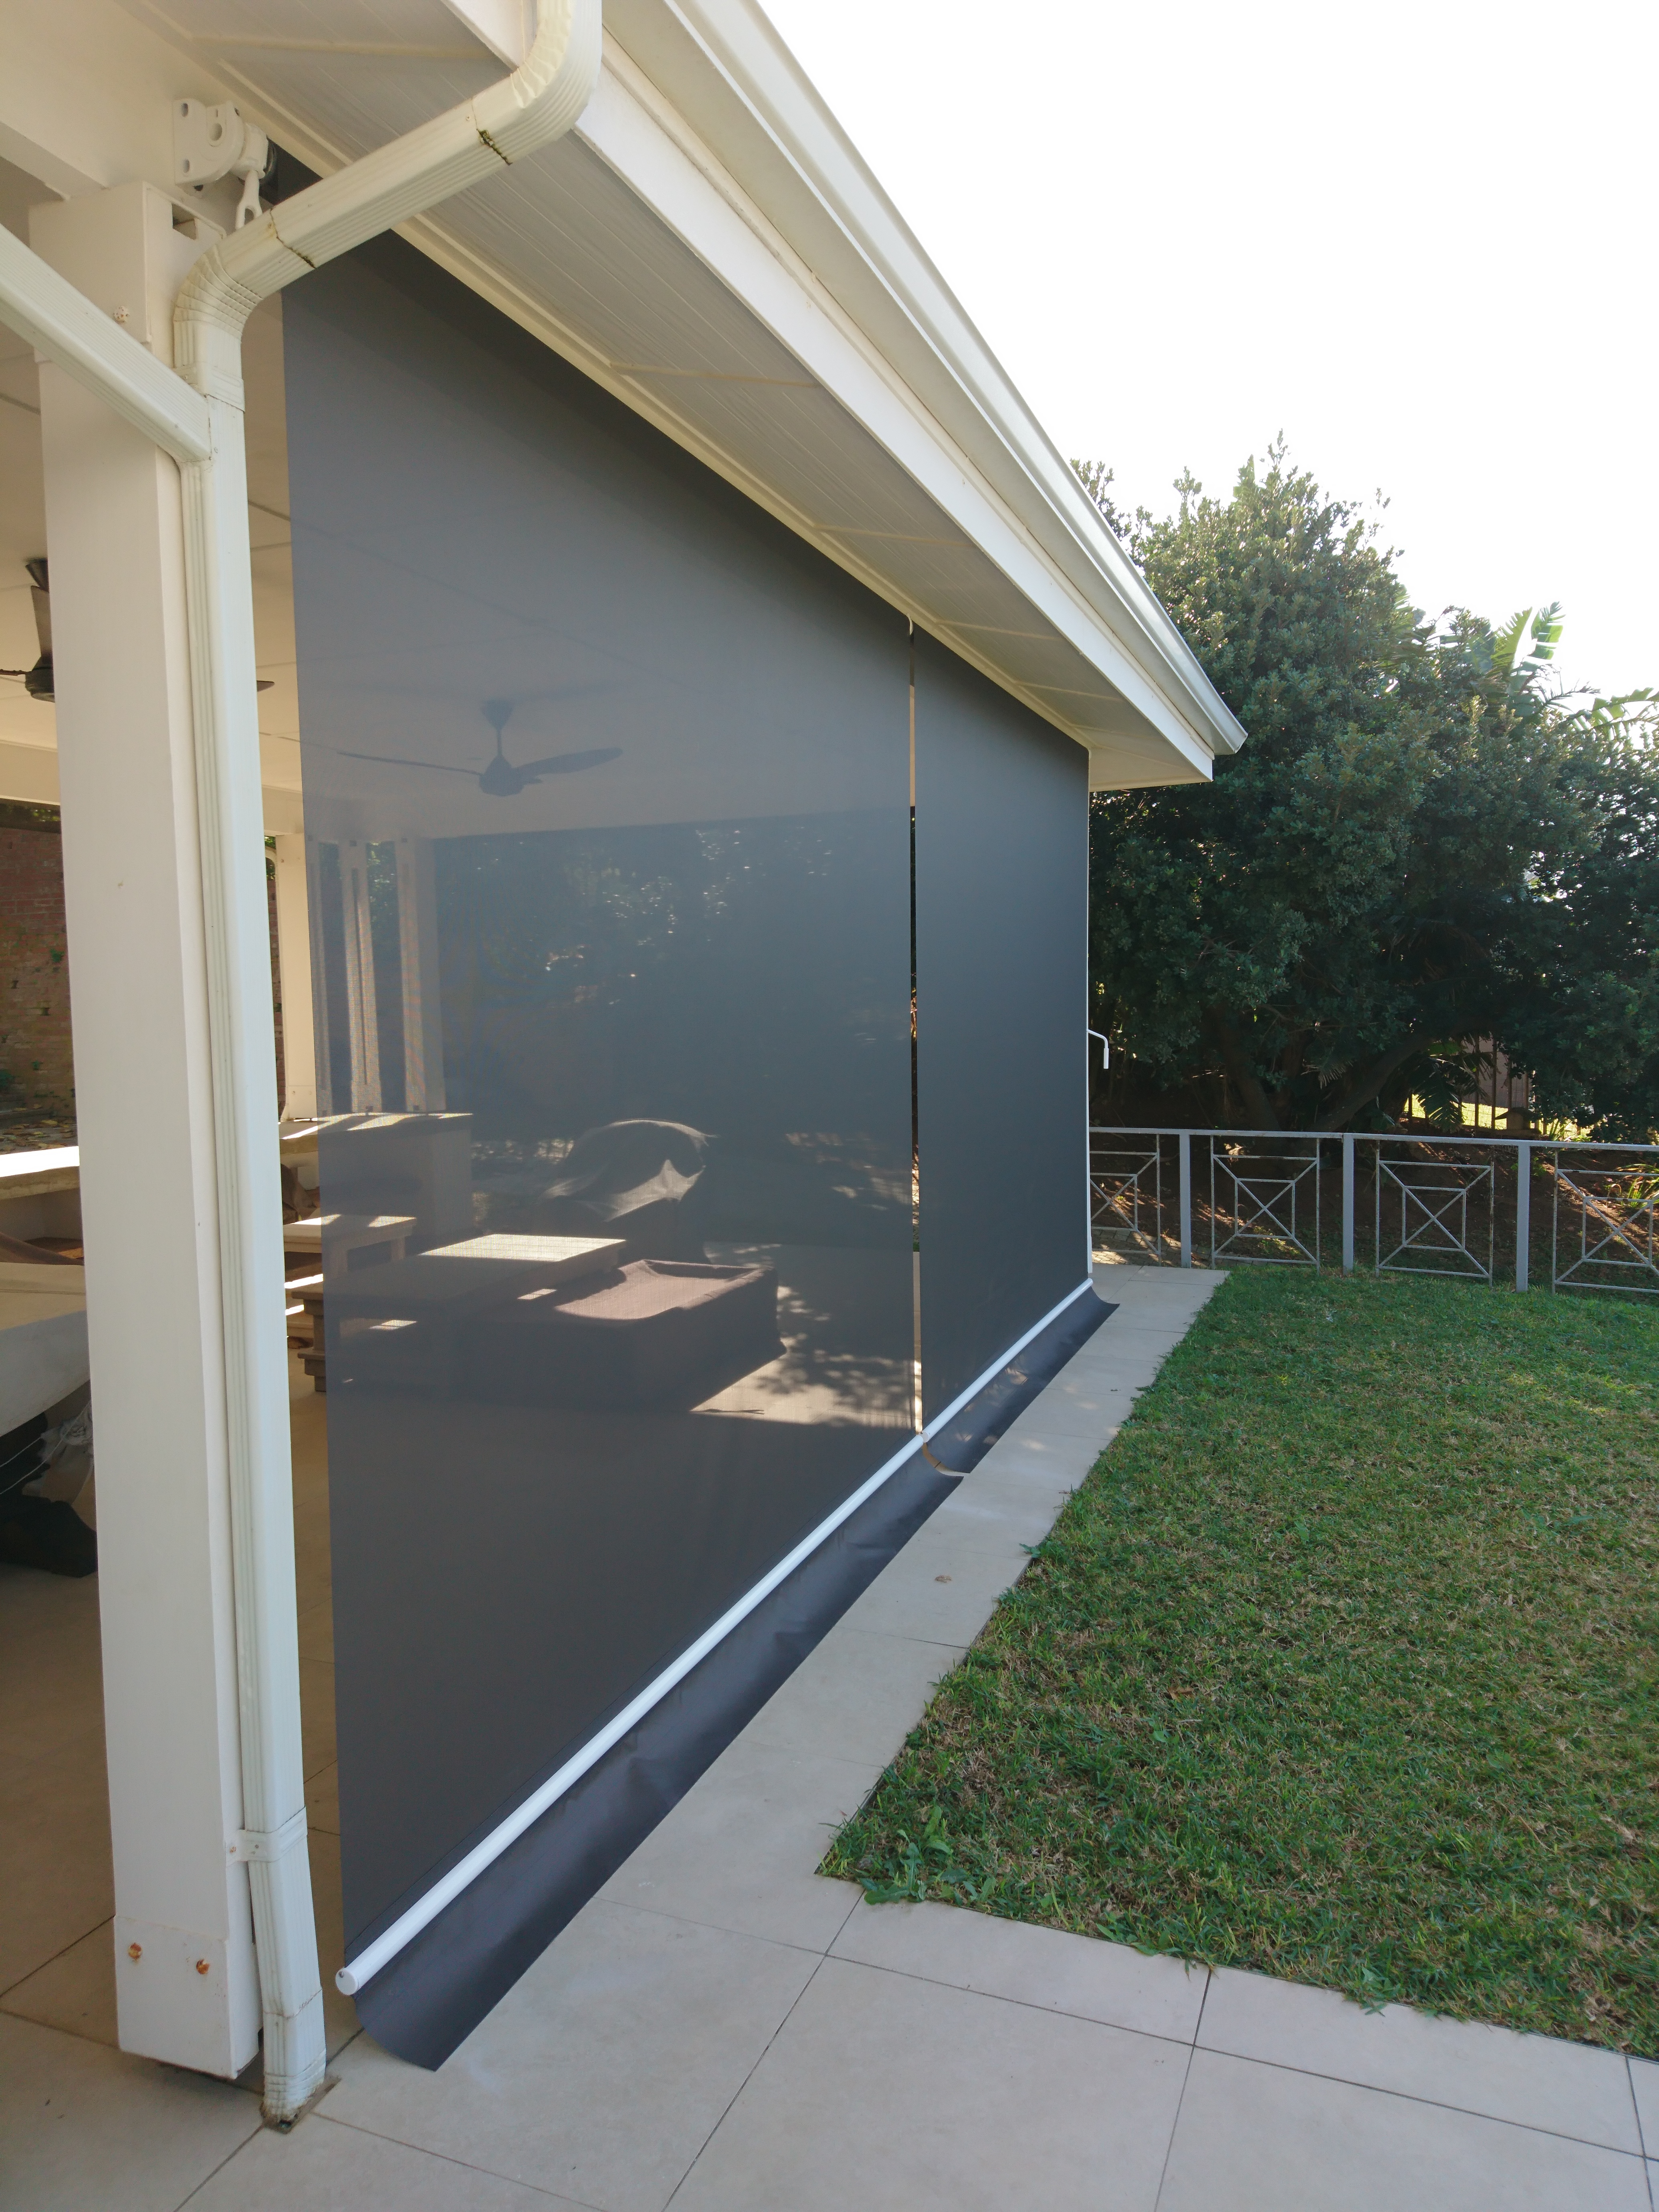 |
Similar to the Barcelona, but without the side arms. Fabric rolls from the front of the roller tube (can be reversed). Can be made with a clear PVC window. Fabric approx 110mm (gear) or 100mm (motor) smaller than overall width. Roller support needed when width is wider that 4800mm. Can have eyelets or turn buttons or the side for lacing/fastening to side wall. Carbine hooks and saddles can be supplied to fasten to floor. Can be motorized with either a fixed position switch or remote control operation.
Installation: Same as Barcelona without the side arms. |
|
|
Cordoba Drop Blind
|
|
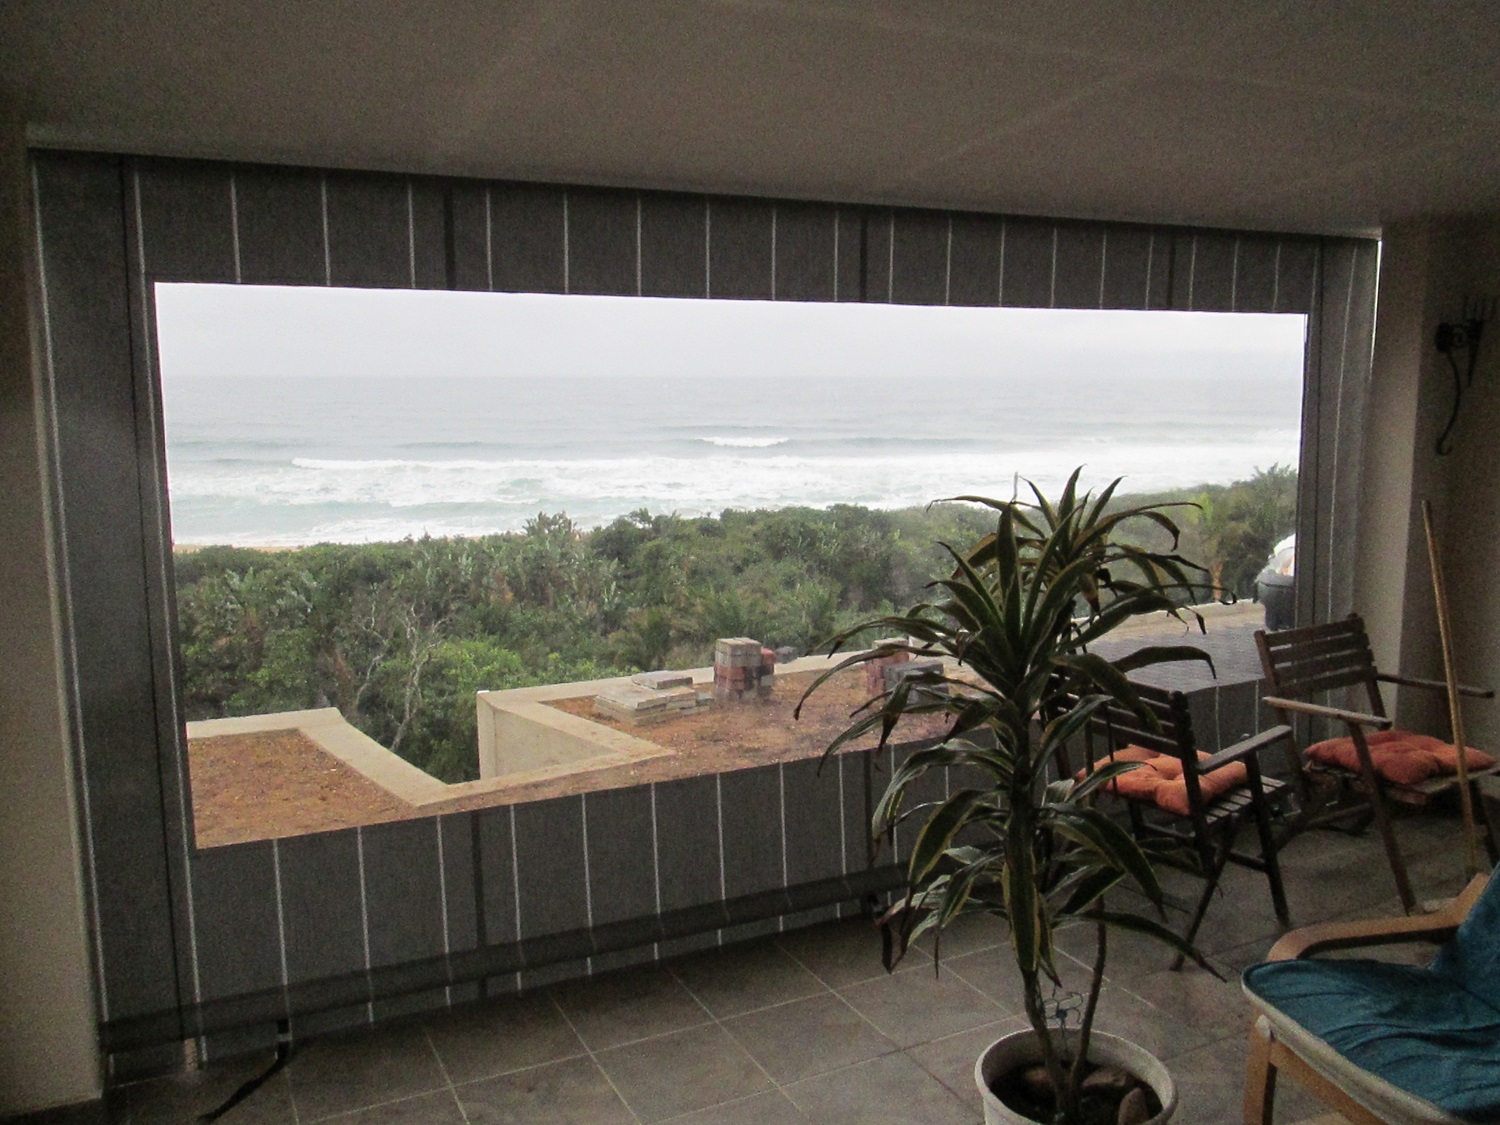 |
Lower cost alternative to Gear Control. Using cords instead of a gearbox to operate the awning. Same options as Gear control ( eyelets, turn buttons) Attaches to the floor using a tension cleat. Comes fully assembled. Must specify either Top fix or Face fix. Can be made to fit an opening with a sloping recess at the top.
Installation: Drill holes in the top rail where you wish to attach to wall. Make corresponding marks on the wall and drill holes. Fasten the awning to the wall using at least an 8 x 60mm screw. Attach the cleat to the wall on the corresponding side.
|
|


